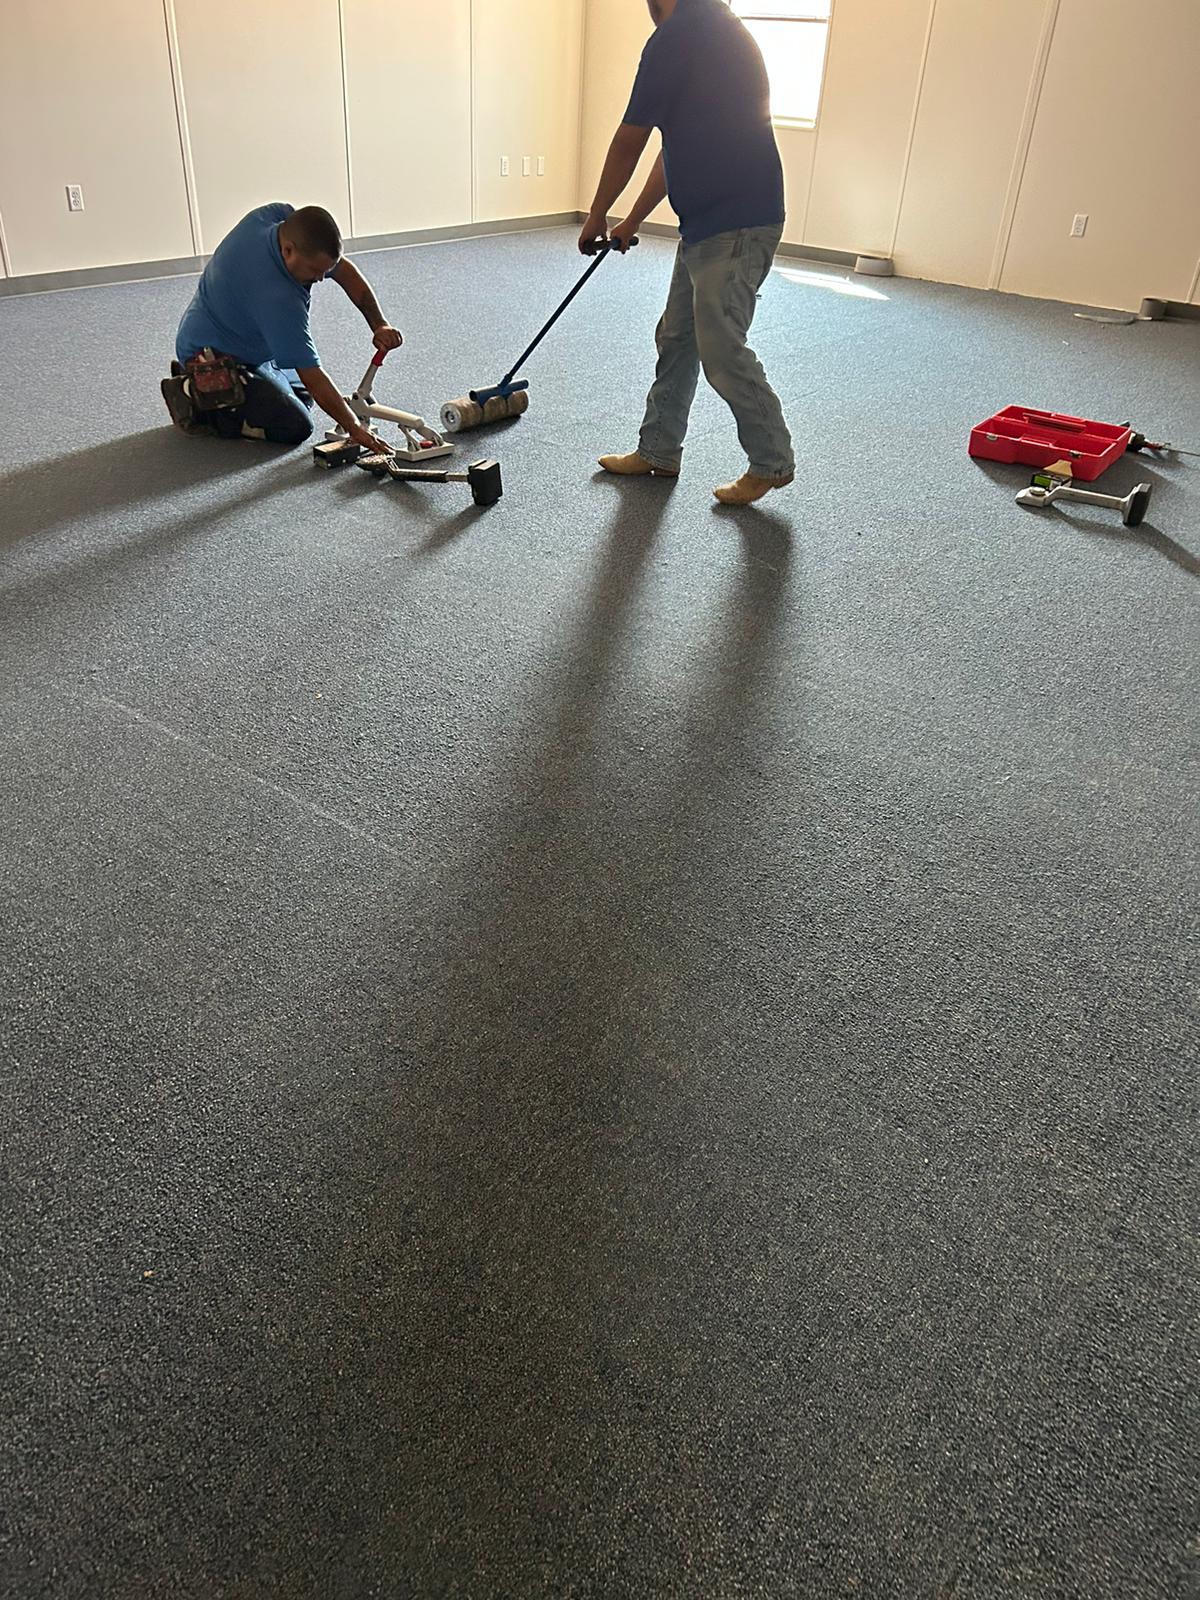
Tile Installation: Tips for a Flawless Finish
Installing tile can be a rewarding home improvement project that enhances both the aesthetic and value of your space. However, achieving a flawless finish requires careful planning and execution. In this guide, we will explore essential tips for successful tile installation.
Understanding Types of Tile
Before diving into installation, it’s crucial to understand the different types of tiles available. Each type has unique properties that can affect your installation process:
- Ceramic Tiles: Durable and easy to maintain, ideal for various surfaces.
- Porcelain Tiles: Denser and less porous, suitable for high-traffic areas.
- Natural Stone Tiles: Unique aesthetics but may require more maintenance.
- Glass Tiles: Great for accents, but can be challenging to install.
Preparing for Installation
Proper preparation is key to a successful tile installation. Here are the steps you should follow:
- Choose the Right Adhesive: Different tiles require different adhesives; ensure compatibility.
- Prepare the Subfloor: It should be clean, dry, and level to prevent future issues.
- Gather Your Tools: Essential tools include a tile cutter, trowel, spacers, and level.
Measuring and Planning Your Layout
A well-planned layout can save time and materials. Follow these planning steps:
- Measure the Area: Calculate the square footage to determine how many tiles are needed.
- Find the Center: Mark the center of your space to create a balanced layout.
- Dry Lay Tiles: Arrange tiles without adhesive to visualize the final look.
Installation Process
Once you’ve prepared and planned, it’s time to install the tiles. Here’s how:
- Apply Adhesive: Use a trowel to spread adhesive evenly on the subfloor.
- Lay Tiles: Start from the center and work outwards, pressing each tile firmly.
- Use Spacers: Insert spacers between tiles to ensure even gaps for grouting.
Grouting and Finishing Touches
After the adhesive has cured, grouting completes the look and functionality of your tile installation. Follow these steps:
- Remove Spacers: Ensure all spacers are removed before grouting.
- Mix Grout: Follow the manufacturer's instructions for mixing grout.
- Apply Grout: Use a float to apply grout into the gaps, ensuring full coverage.
- Clean Excess Grout: Wipe off excess grout with a damp sponge before it dries.
Maintaining Your New Tile Floor
To keep your tile floors looking new, regular maintenance is essential. Consider these tips:
- Sweep Regularly: Remove dirt and debris to prevent scratching.
- Mop with Gentle Cleaners: Use pH-balanced cleaners to avoid damage.
- Seal Grout Lines: Consider sealing grout lines to prevent staining.
Conclusion
Tile installation can significantly enhance your home’s appeal and value, but it requires careful planning and execution. By understanding the types of tiles, preparing properly, measuring accurately, and following the installation process diligently, you can achieve a flawless finish. With ongoing maintenance, your beautiful tile floors will continue to impress for years to come.